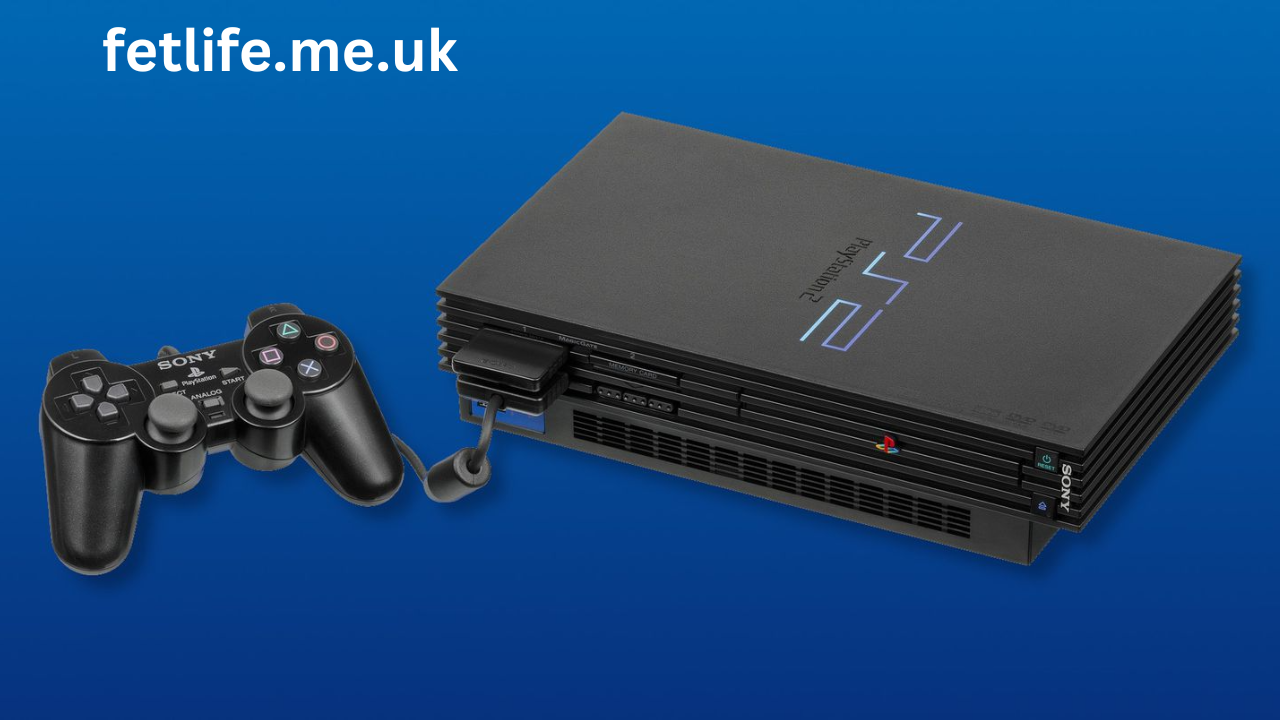
The PlayStation 1 (PS1), released by Sony in 1994, revolutionized the gaming industry, offering 3D graphics, engaging gameplay, and a broad library of iconic titles. However, like all electronic devices, the PS1 is susceptible to wear and tear over time, especially the how to fix ps1 laser that reads game discs. A malfunctioning PS1 laser can result in game loading errors, skipped cut-scenes, or a total inability to read any discs. Fortunately, fixing a PS1 laser is a task that many DIY enthusiasts can handle with patience, basic tools, and some understanding of the device’s inner workings. In this guide, we’ll walk through the process of fixing a PS1 laser, from troubleshooting common problems to repairing or replacing the laser assembly.
Understanding the how to fix ps1 laser
Before diving into the repair process, it’s important to understand how the laser works within the PS1. The PS1 uses a laser diode to read the data on the game disc. When you insert a disc, the laser assembly moves to the appropriate spot, and the how to fix ps1 laser emits a beam that reflects off the disc’s surface. The reflected light is then interpreted by the PS1 to load the game’s data. If the laser is dirty, misaligned, or malfunctioning, it may not be able to read the disc properly, leading to errors such as “Disc Read Error.”
Common Symptoms of a Failing PS1 Laser
There are several warning signs that indicate the PS1 laser may be failing or damaged:
- Disc Read Error: The most common issue is when the PS1 fails to read the disc entirely, showing the “Disc Read Error” message on the screen.
- Freezing or Skipping in Games: The laser may struggle to read specific parts of the disc, leading to frozen screens or skipped cut-scenes.
- Game Load Failures: Sometimes the PS1 will load the initial screens but fail to progress further into the game.
- Sound Issues: In some cases, there may be audio glitches or pauses during gameplay, which can indicate an issue with the laser’s ability to track data.
- No Power to the Disc Drive: If the laser assembly doesn’t even attempt to read the disc, it might be a power issue, which can be related to the laser itself.
Tools and Materials Needed
Before you start fixing the PS1 laser, it’s crucial to gather the necessary tools. Here’s a list of what you will need:
- Small Phillips-head screwdriver: For opening the PS1 console.
- Tweezers: To handle small components, especially if you are replacing the laser.
- Isopropyl alcohol (preferably 90% or higher): For cleaning the laser lens.
- Cotton swabs or microfiber cloth: To gently clean the lens.
- Replacement laser assembly (if needed): If the laser is damaged and cannot be repaired, you will need a new one.
- Torx screwdriver (optional): Some PS1 models require a Torx screwdriver to open.
Step-by-Step Guide to how to fix ps1 laser
Step 1: Open the PS1 Console
Before you can start diagnosing and repairing the laser, you need to safely open the PS1 console.
- Unplug the PS1 from the power source and disconnect any peripherals.
- Remove the screws: Use your Phillips-head screwdriver to remove the screws from the bottom of the console. Depending on your model, you may also need to remove any screws on the top cover. Some PS1 units have a security screw that requires a special tool or a Torx screwdriver to open.
- Lift the top cover: Once all screws are removed, carefully lift the top cover of the console to expose the internal components.
Step 2: Locate the Laser Assembly
Inside the PS1, the laser assembly is located within the disc drive. It’s the component that moves back and forth across the disc, shining a laser to read the data. You should be able to spot the laser assembly as a small, rectangular part connected to a rail system.
- Remove the disc drive cover: This will give you full access to the laser assembly. Be careful not to force any parts out of place, as they may be delicate.
- Examine the laser: The laser itself is a small diode that can be cleaned or replaced. Look for any signs of damage, such as cracks or discoloration, which may indicate that the laser is faulty and needs replacing.
Step 3: Clean the Laser Lens
One of the most common causes of PS1 laser issues is dirt or dust accumulation on the laser lens. Cleaning the lens is a relatively simple and non-invasive procedure that can often resolve minor problems.
- Get a cotton swab or microfiber cloth: Dip the swab or cloth in isopropyl alcohol and gently clean the lens.
- Be gentle: Do not apply excessive pressure, as this could scratch the lens or damage the laser assembly.
- Allow the lens to dry: If you used isopropyl alcohol, give it a moment to dry before proceeding. Ensure no excess liquid is left on the lens.
Step 4: Adjust the Laser Potentiometer
If cleaning the lens does not solve the problem, you might need to adjust the laser’s potentiometer. The potentiometer is a small screw or dial that controls the how to fix ps1 laser power level. If the laser is too weak, it may struggle to read the disc.
- Locate the potentiometer: The potentiometer is typically near the laser diode or on the laser assembly itself.
- Make small adjustments: Using a small screwdriver, turn the potentiometer very slightly (usually clockwise or counterclockwise). Start with tiny adjustments and test the PS1 after each change. A small turn of the potentiometer can make a significant difference in the laser’s ability to read discs.
Step 5: Test the PS1
Once you’ve cleaned the lens and adjusted the potentiometer, it’s time to test the PS1 to see if the issue has been resolved.
- Reassemble the PS1: Carefully reassemble the PS1 by replacing the disc drive cover and securing the screws back in place.
- Power up the system: Insert a game disc and power up the PS1 to check if it reads the disc correctly. If the game loads properly, you’ve successfully fixed the laser.
- Test with multiple discs: It’s important to test with different discs to ensure that the laser is reading properly.
Previous article; How to Remove Drivers Side Wheel hub 2004 mini cooper
Step 6: Replacing the Laser Assembly
If cleaning the lens and adjusting the potentiometer doesn’t work, it might be time to replace the laser assembly entirely. This is a more advanced repair and will require you to purchase a replacement laser that is compatible with your specific PS1 model.
- Buy a compatible laser: Search for a replacement laser assembly that is specifically designed for your PS1 model (there are different lasers for various versions of the PS1). Make sure to buy from a reputable supplier to ensure you get a quality part.
- Disconnect the old laser: Once you have the replacement, you’ll need to carefully disconnect the old laser from the motherboard of the PS1.
- Install the new laser: Attach the new laser to the same mounting points as the old one. Ensure the connections are secure.
- Test the new laser: After replacing the laser, reassemble the PS1 and test it with a game disc to make sure the new laser works properly.
Step 7: Final Testing and Reassembly how to fix ps1 laser
Once the laser has been cleaned or replaced, and the PS1 has been reassembled, do a thorough test to ensure everything is functioning correctly. Test different game discs to make sure the PS1 is consistently able to load and play games without any errors.
- Check for consistent performance: Play different games and check for any skipping, freezing, or errors.
- Ensure the disc tray opens and closes properly: Make sure that the PS1 disc tray opens and closes smoothly without any issues, as a misaligned tray can also cause disc reading problems.
Preventive Maintenance Tips for Prolonging Laser Life
To avoid future laser issues and prolong the life of your PS1, here are a few tips:
- Keep discs clean: Always store your game discs in protective cases to avoid scratches or dirt buildup.
- Use high-quality discs: Cheap or damaged discs can put unnecessary strain on the PS1’s laser.
- Place the PS1 on a stable surface: Avoid placing the PS1 in areas with excessive vibrations or unstable surfaces, as this can affect the laser’s ability to track the disc.
- Perform regular cleaning: Every few months, clean the PS1’s laser lens to remove any accumulated dust and dirt.
- Avoid overheating: Ensure that your PS1 has adequate ventilation to prevent overheating, which can damage the internal components, including the laser.
Conclusion
How to fix ps1 laser can be a rewarding experience for those willing to put in the time and effort. By carefully cleaning the laser lens, adjusting the potentiometer, or replacing the laser assembly, you can bring your PS1 back to life and continue enjoying classic games. Just remember to be patient, take your time, and always test the system after each step to ensure everything is working as it should. Whether you’re dealing with a simple lens cleaning or a full laser replacement, following the steps outlined in this guide will help you tackle the issue and breathe new life into your beloved PS1.